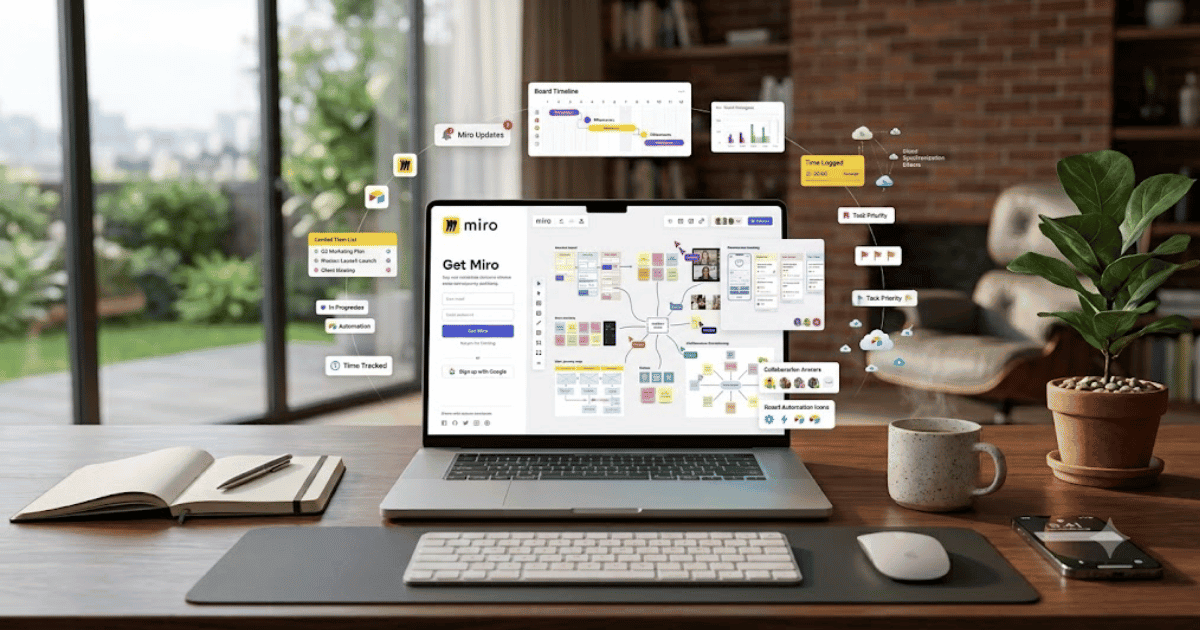
How to Create a Miro Account in 2026 – Complete Step-by-Step Guide for Beginners
Miro has become one of the most popular online collaboration platforms for remote teams, businesses, designers, educators, and students. It allows users to brainstorm ideas, build flowcharts, create mind maps, design wireframes, and collaborate in real time on an interactive digital whiteboard.
If you’re new to the platform, this guide will teach you how to create a Miro account in 2026 with easy step-by-step instructions.
What Is Miro?
Miro is a cloud-based online whiteboard platform designed for visual collaboration. Teams can work together from anywhere using shared boards that support diagrams, sticky notes, presentations, planning sessions, agile workflows, and design collaboration.
Miro is widely used for:
- Brainstorming sessions
- Mind mapping
- Project planning
- UI/UX design
- Agile sprint planning
- Flowchart creation
- Team workshops
- Online education
Key Features of Miro
Miro offers a wide range of productivity features, including:
- Unlimited online whiteboards
- Sticky notes
- Mind maps
- Flowcharts
- Wireframes
- Templates
- Team collaboration
- Video meetings
- Presentation mode
- Third-party integrations
Requirements Before Creating a Miro Account
Before signing up, you’ll need:
- A valid email address
- Google, Microsoft, or Apple account (optional)
- A computer or smartphone
- A stable internet connection
How to Create a Miro Account
Step 1: Visit the Official Website
Open your web browser and visit the official Miro website.
Step 2: Click Sign Up Free
Click the Sign Up Free button on the homepage.
Step 3: Choose Your Registration Method
You can create an account using:
- Email address
- Google account
- Microsoft account
- Apple account
Choose the option that best fits your needs.
Step 4: Enter Your Details
If you register using email, enter:
- Full name
- Email address
- Strong password
Continue with the registration process.
Step 5: Verify Your Email
Open your inbox and click the verification link sent by Miro.
Your account will be activated immediately after verification.
Step 6: Create Your Workspace
After logging in:
- Enter your workspace name.
- Select your profession or industry.
- Choose whether you’ll use Miro individually or with a team.
Step 7: Create Your First Board
Now it’s time to create your first collaborative board.
You can:
- Start with a blank board.
- Choose a ready-made template.
- Invite team members.
- Begin adding notes, diagrams, and designs.
Your Miro account is now ready to use.
Benefits of Using Miro
A Miro account allows you to:
- Collaborate in real time
- Organize ideas visually
- Plan projects more effectively
- Conduct remote workshops
- Improve team communication
- Access your boards from anywhere
Common Registration Problems
Verification Email Not Received
If you don’t receive the verification email:
- Check your Spam folder.
- Verify your email address.
- Request another verification email.
Unable to Create an Account
Try these solutions:
- Refresh your browser.
- Clear browser cache.
- Update your browser.
- Switch to another internet connection.
Email Already Registered
Use the Sign In option or reset your password.
Security Tips
Keep your Miro account secure by following these best practices:
- Create a strong password.
- Enable two-factor authentication if available.
- Update your recovery email.
- Review connected devices regularly.
- Never share your login credentials.
Final Thoughts
Learning how to create a Miro account in 2026 is simple and takes only a few minutes. Once your account is active, you’ll be able to brainstorm ideas, build diagrams, collaborate with teammates, and manage projects using one of the best online whiteboard platforms available today.
Whether you’re a student, designer, business owner, or remote worker, Miro provides the flexibility and collaboration tools needed to turn ideas into action.
Frequently Asked Questions (FAQs)
1. Is Miro free to use?
Yes. Miro offers a free plan with essential collaboration features. Premium plans provide additional boards, security, and advanced team tools.
2. Can I sign up with my Google account?
Yes. Miro supports registration using Google, Microsoft, Apple, or an email address.
3. Can I use Miro on my mobile phone?
Yes. Miro has official apps for Android and iPhone, along with desktop applications and a web version.
4. Is Miro suitable for students?
Absolutely. Students use Miro for brainstorming, mind mapping, presentations, group assignments, and online learning.
5. Can I invite others to my Miro board?
Yes. You can invite team members, classmates, or clients to collaborate on the same board in real time.
- How to Create an Amazon Account in 2026 – Beginner Guide
- How to Create a Canva Account in 2026 – Easy Beginner Guide
- How to Create a Freelancer.com Account in 2026 Beginner Guide
- How to Create a GitHub Account in 2026 – Easy Beginner Guide
- How to Create a Google Ads Account in 2026 – Easy Guide
- Create Fiverr Account in 2026 – Step-by-Step Beginner Guide
- How to Create a PayPal Account in 2026 – Easy Beginner Guide